How to install Laravel in containers
Laravel is one of the most used web development frameworks, being a tool that covers different aspects of web development in one place, it is frequently chosen for its variety of tools that simplify the process of creating systems.
Introduction
The easiest way to run Laravel, regardless of the operating system you use, is by using containers. Docker containers are available on Linux, Mac and Windows. This allows teams with different platforms to run the same project without having to worry about dependencies or external systems like databases.
Before installing Laravel, it is necessary to install Docker Desktop. Once Docker Desktop is installed, we can use Laravel Sail commands to manage the containers.
Installing Laravel
The installation of Laravel varies a bit depending on the operating system. Here I will show you how to do it for Linux, Mac and Windows.
To install Laravel, open the terminal and navigate to the directory where you want to create your application. Run the following command, where my-laravel-app is the name of the project folder.
Information
Make sure the name only includes alphanumeric characters, dashes and underscores.
Installation command for MacOS:
curl -s "https://laravel.build/my-laravel-app" | bashWarning
Before running the Windows command, make sure you have Docker Desktop installed and WSL (Windows Subsystem for Linux) is installed and enabled. You can learn how to install WSL here. After installing WSL, also make sure Docker Desktop is configured to use WSL. It is highly recommended that you run the installation command inside the home folder of the Linux distribution you use for WSL. Doing it there has performance advantages vs. doing it inside the C: drive.
Installation command for Linux or Windows (WSL):
curl -s https://laravel.build/example-app | bashInformation
If you get the message "Docker is not running", it is necessary for Docker to be running for the command to work correctly.
The command may ask for the user's password, this is necessary to set the folder permissions correctly.
Once successful, you should see a message similar to this:
Application ready! Build something amazing.
Sail scaffolding installed successfully.

Please provide your password so we can make some final adjustments to your application's permissions.

Password:

Thank you! We hope you build something incredible. Dive in with: cd my-laravel-app && ./vendor/bin/sail up
Once finished, navigate to the application directory in the terminal with cd my-laravel-app and run the containers with ./vendor/bin/sail up. The first time this command is executed, it will take a while as the application will build the necessary containers. However, subsequent times will be much faster.
Once the containers are up, the console will show information similar to this:
my-laravel-app-mysql-1         | 2022-05-29T18:54:38.584635Z 0 [System] [MY-010931] [Server] /usr/sbin/mysqld: ready for connections. Version: '8.0.28'  socket: '/var/lib/mysql/mysql.sock'  port: 3306  MySQL Community Server - GPL.
my-laravel-app-meilisearch-1   | [2022-05-29T18:54:46Z INFO  actix_web::middleware::logger] 127.0.0.1 "GET /health HTTP/1.1" 200 22 "-" "Wget" 0.013543
my-laravel-app-meilisearch-1   | [2022-05-29T18:55:16Z INFO  actix_web::middleware::logger] 127.0.0.1 "GET /health HTTP/1.1" 200 22 "-" "Wget" 0.000049
my-laravel-app-mailhog-1       | [APIv1] KEEPALIVE /api/v1/events
my-laravel-app-laravel.test-1  | [Sun May 29 18:55:39 2022] 172.22.0.1:62972 Accepted
my-laravel-app-laravel.test-1  | [Sun May 29 18:55:40 2022] 172.22.0.1:62972 Closing
my-laravel-app-laravel.test-1  | [Sun May 29 18:55:40 2022] 172.22.0.1:62974 Accepted
my-laravel-app-laravel.test-1  | [Sun May 29 18:55:40 2022] 172.22.0.1:62974 Closing
my-laravel-app-laravel.test-1  | [Sun May 29 18:55:40 2022] 172.22.0.1:62976 Accepted
my-laravel-app-laravel.test-1  | [Sun May 29 18:55:40 2022] 172.22.0.1:62976 [200]: GET /favicon.ico
my-laravel-app-laravel.test-1  | [Sun May 29 18:55:40 2022] 172.22.0.1:62976 Closing
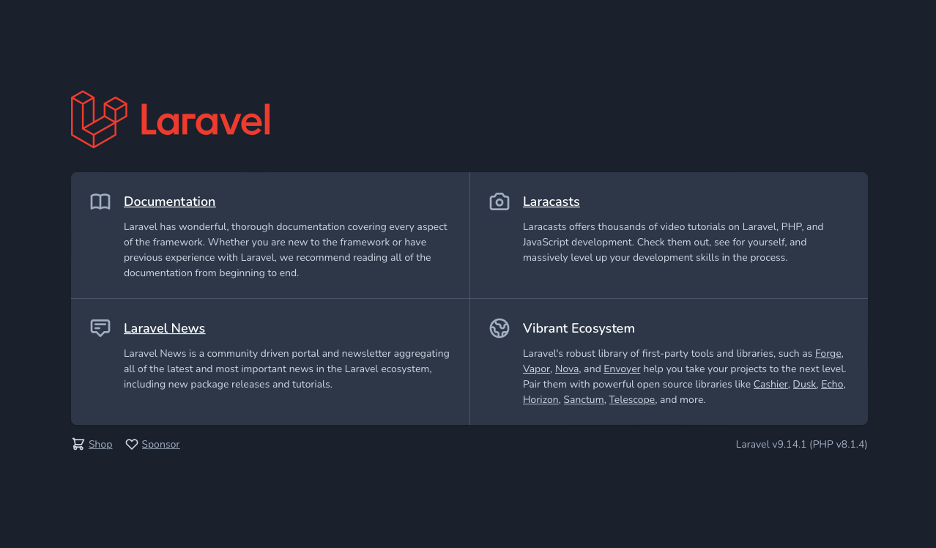
And you can navigate to http://localhost to access the application.

Tip
To stop the containers, just press "Ctrl + C" in the terminal.

